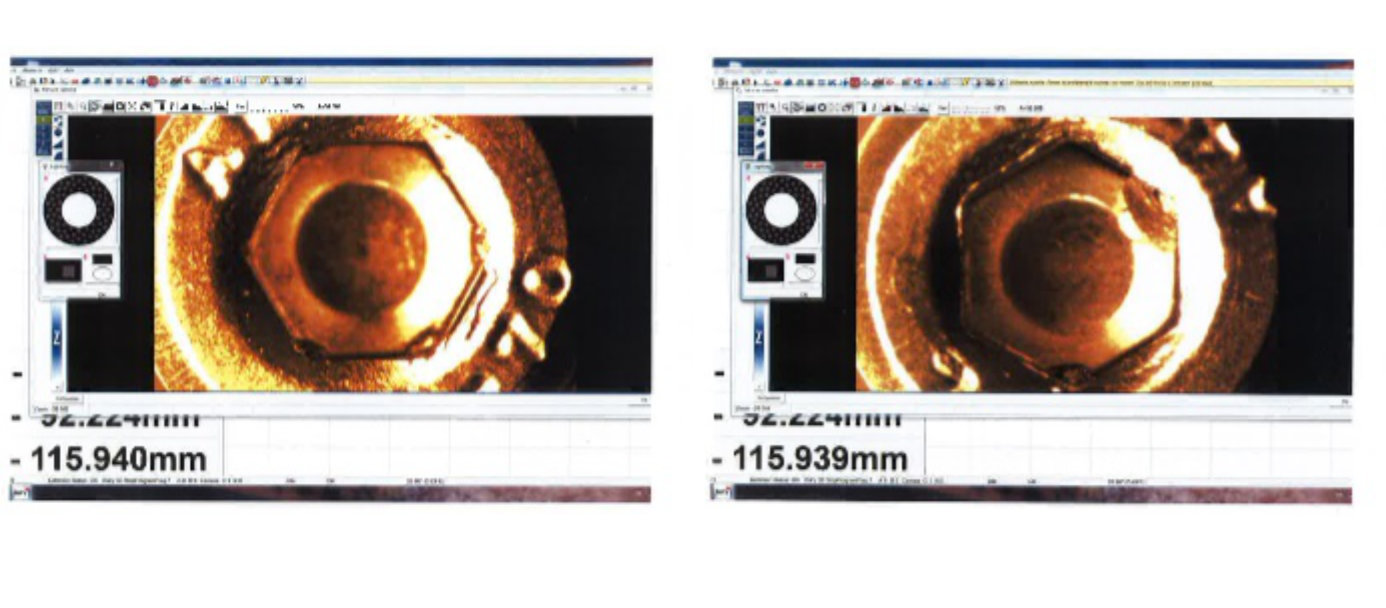
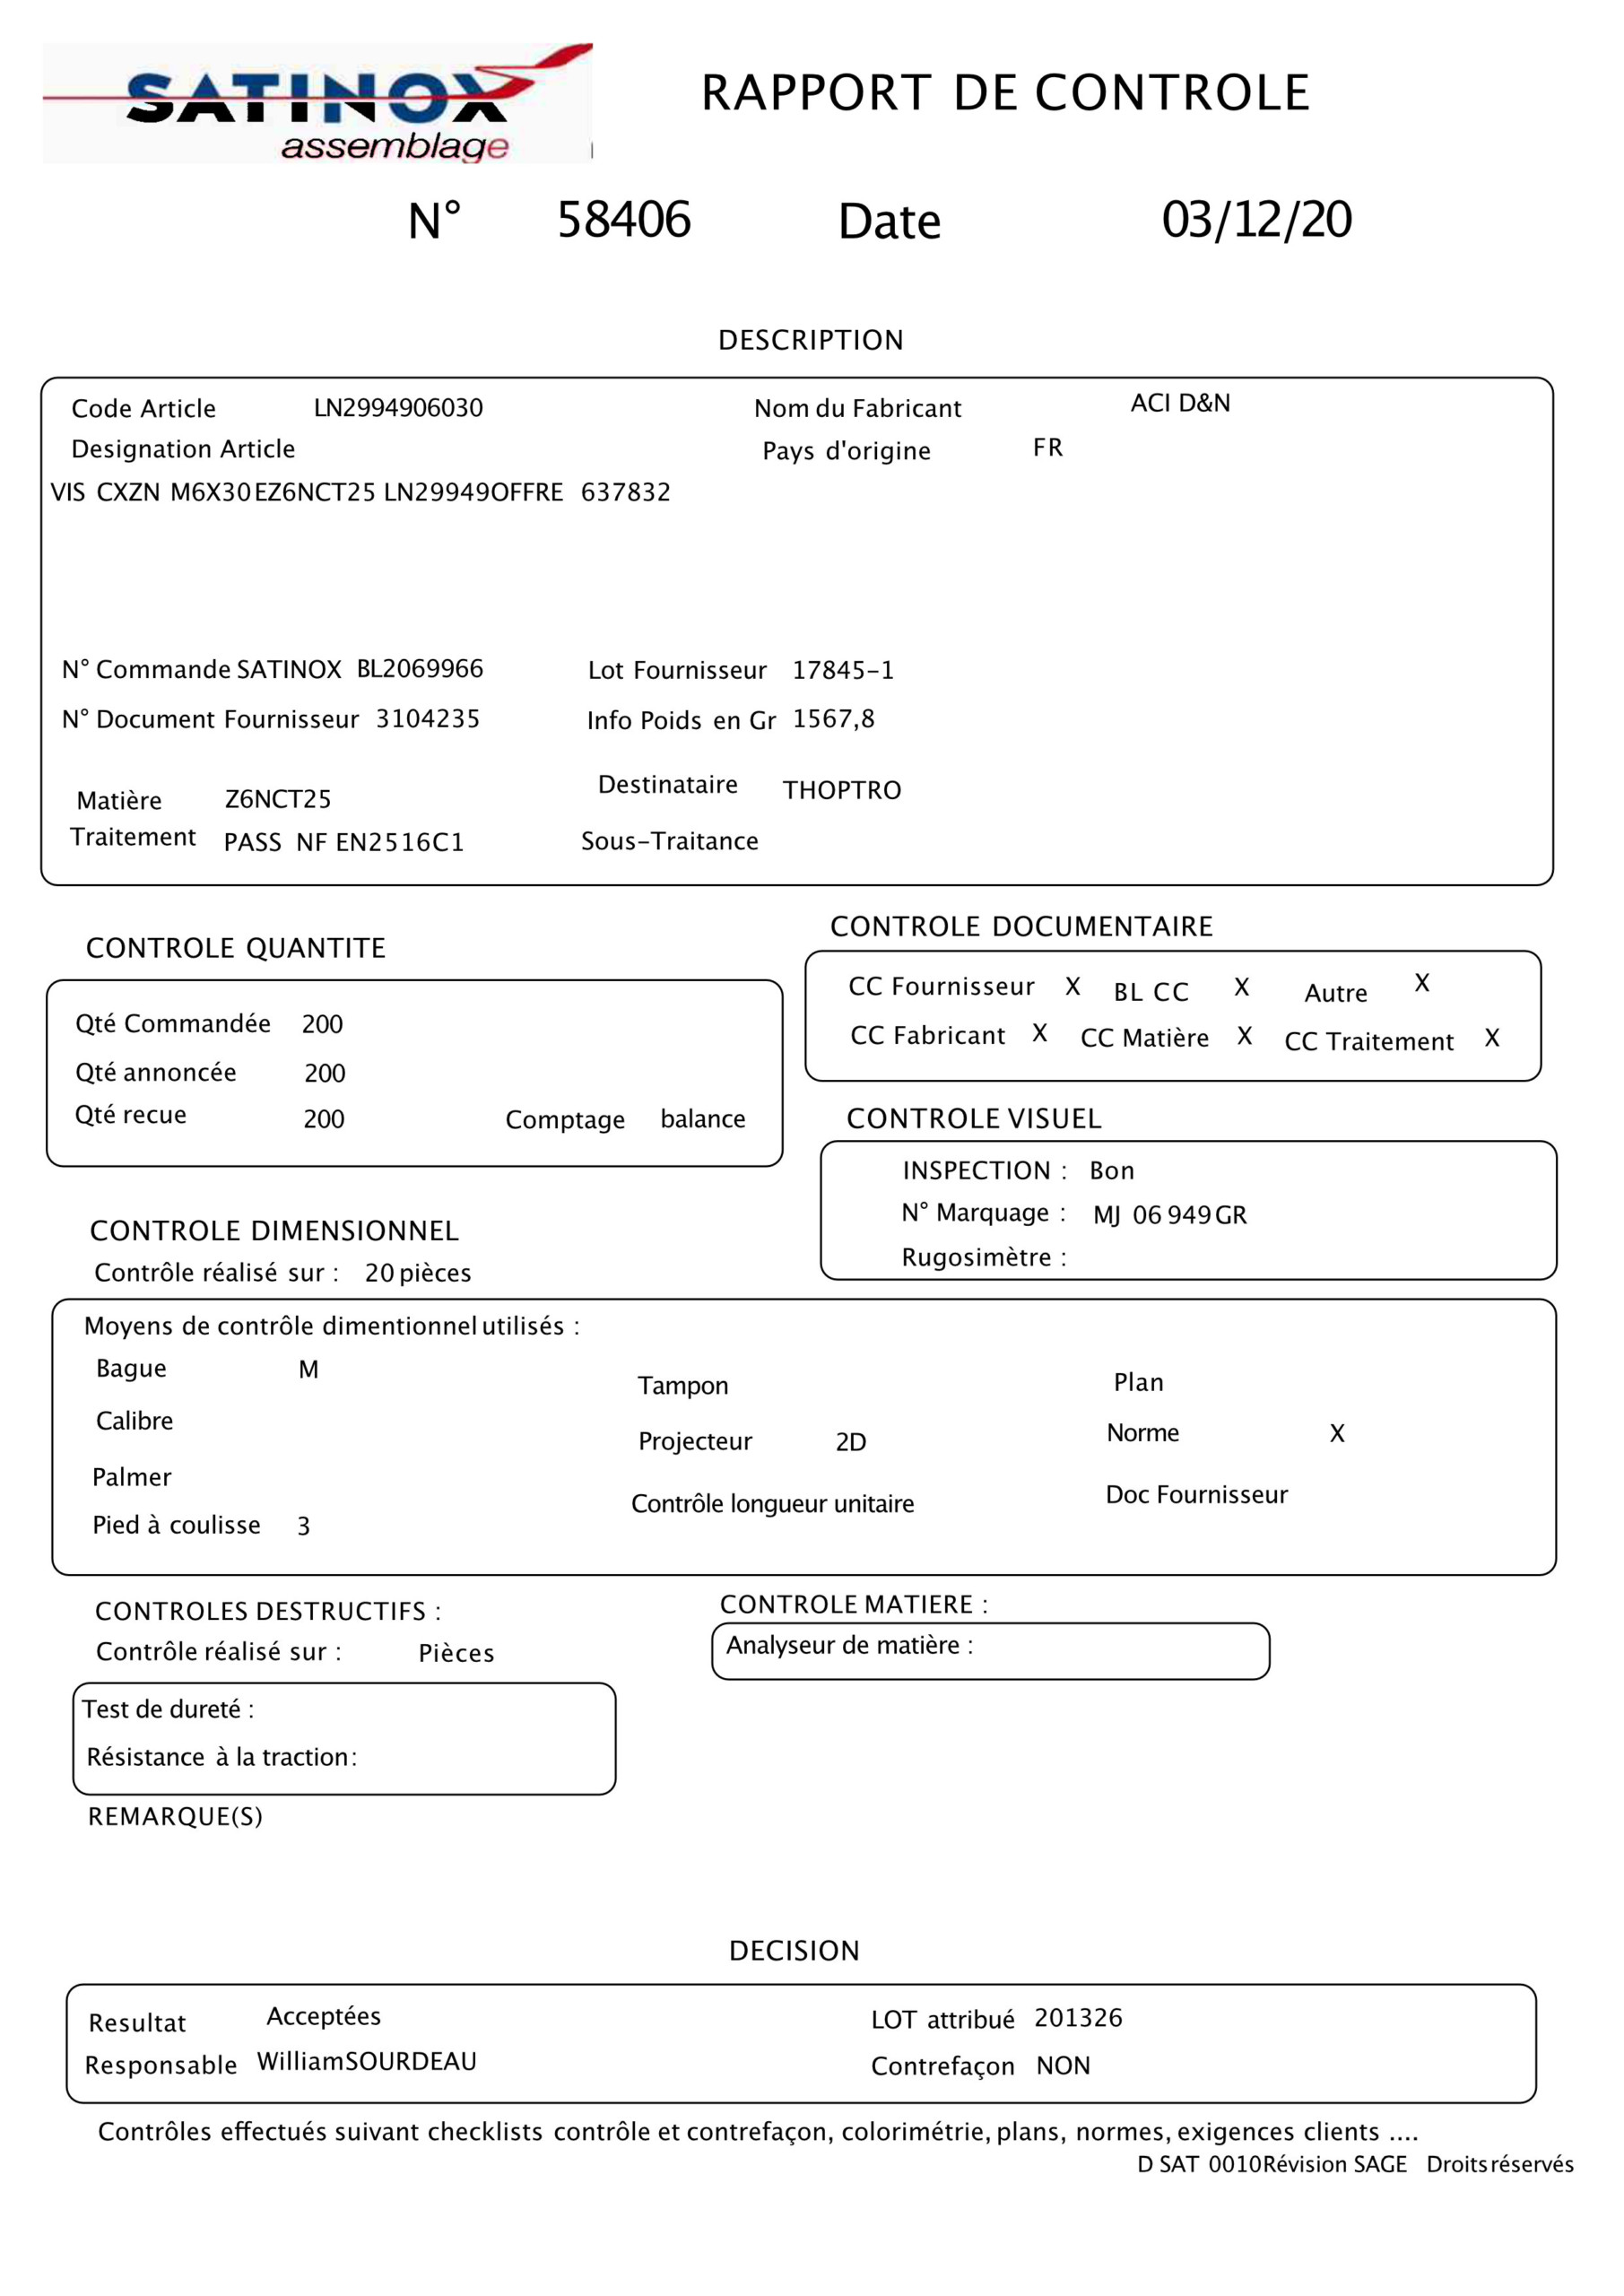
OUR CONTROL DEPARTMENT
The control department of Satinox Assemblage, a long history …
The concept of control was born with the company, always adapting with the evolution of technologies, products, standards and customer requirements.
The principle of our control is based on the systematic control of the batches received before and after surface treatments and/or rectification of parts.
- Sampling plan inspections according to the standard ISO 2859-1.
- Sampling plans adapted to customer requirements
- 100% inspections on request
Control figures
Verified batches
PER YEAR
Returns to our suppliers
PER YEAR
Customer non-conformities
PER YEAR
Exemption requests
PER YEAR
Lines delivered
PER YEAR
Presentation of the service
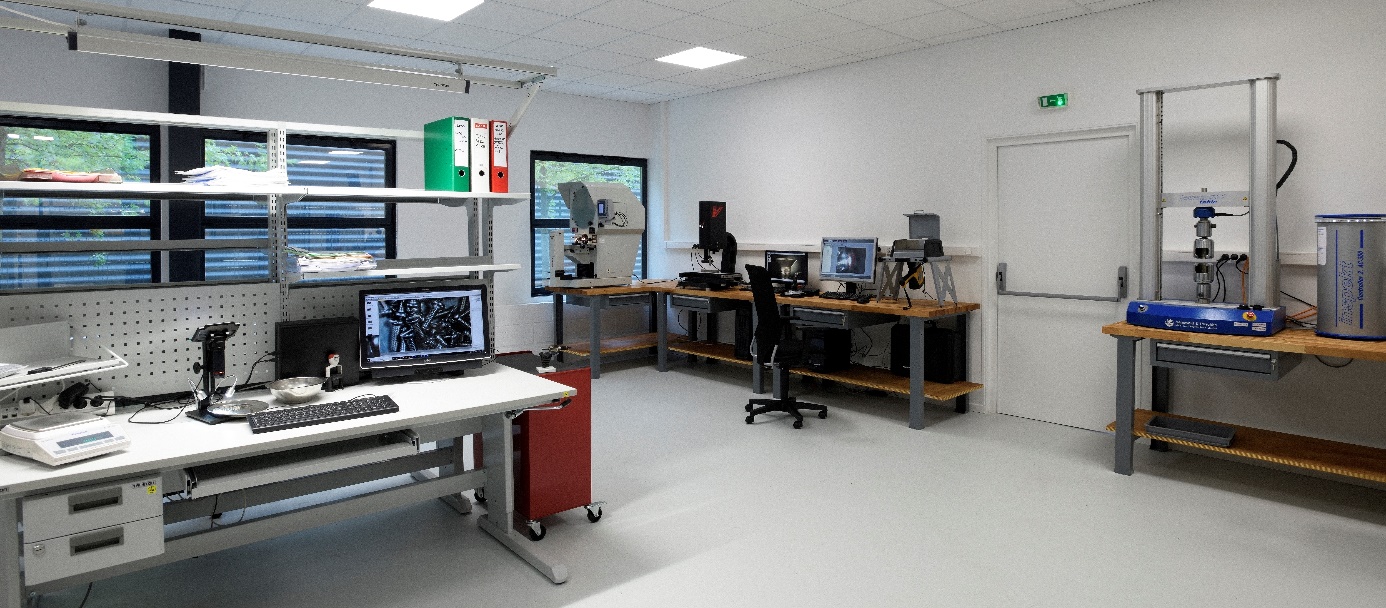
- A 120 m2 laboratory
- 3 Full-time, trained and experienced employees
- Wide range of control means
- Destructive and non-destructive tests
- Regularly calibrated equipment
- A historical document base of drawings and standards
- Permanent internet access to AFNOR standards
- New in 2020 : Creation of a defect library based on our control experience”
Means of control
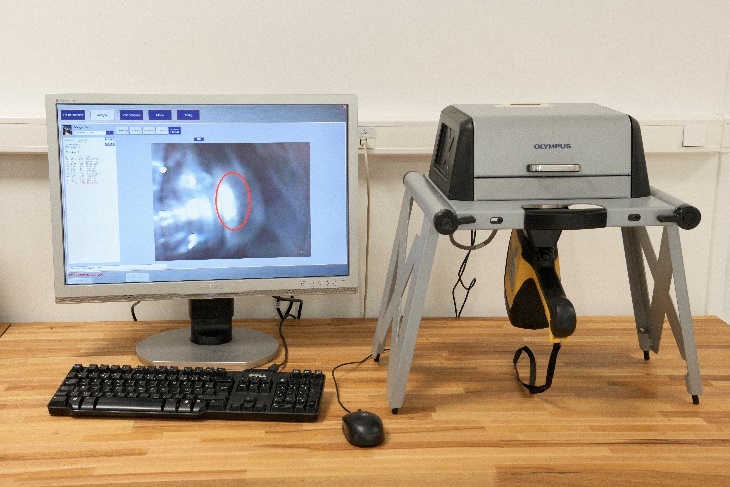
X-ray fluorescence analyzer (XRF)
This device provides qualitative and quantitative characterisation of materials.
It allows fast, easy and accurate identification of alloys as well as elementary analysis of elements from Mg to U.
We mainly use it to check the conformity of stainless steels.
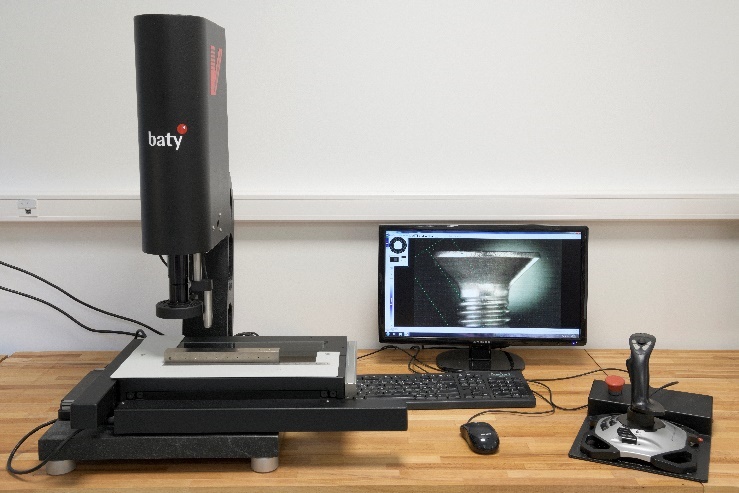
3D VENTURE Measuring Machine
At the cutting edge of technology, in terms of combined video and touch probe control.
Its granite marble and its cast iron column give it stability and robustness. Its X, Y and Z guides are fitted with SKF precision cross roller tracks. Its HEIDENHAIN measuring rulers have a resolution of 0.5µm. Its optical system consists of a High Resolution colour Camera (2048 x 1590 Pixels) and a Tele-centric Motorized Zoom. The touch probe and its modules are supplied by Renishaw.
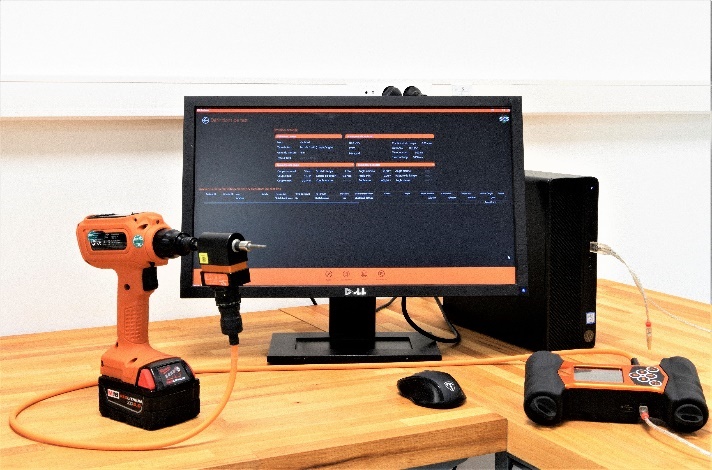
Control measurement chain 10Nm
This installation allows us to measure and test the torque values to breaking point.
The breaking point being given by the standard, it is an additional control point.
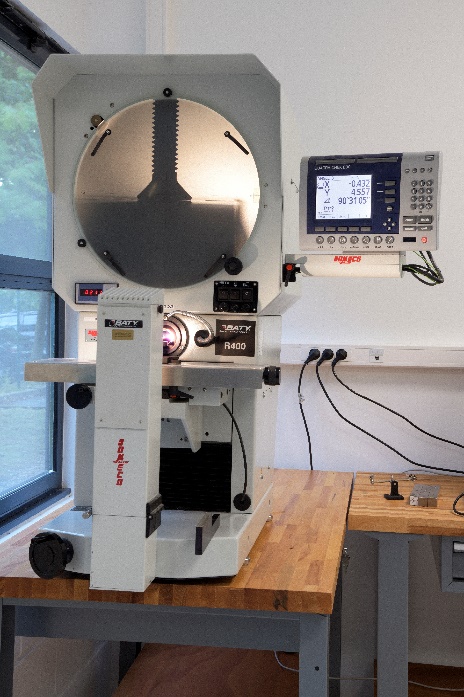
Profile projector
The horizontal lighting profile projector, with a high capacity steel table, and measuring distances X 300 and Y 200 mm. For machine turned or milled components.
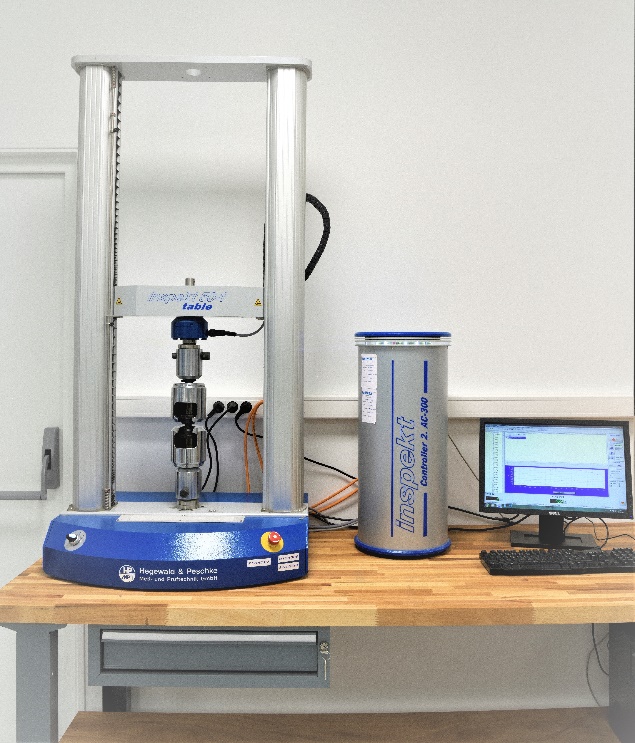
Tensile testing machine Inspekt 50-1 table.
Test limit of 50 Kn (5 Tons)
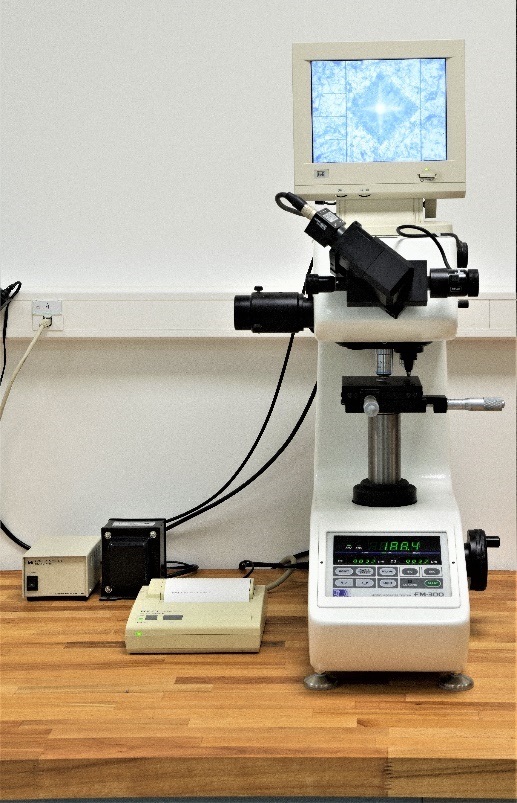
Vickers microhardness testing machine
FM-300 Digital Optical Instrument from Future-Tech Corp. (loads 10 – 1000g) with micro / macro focusing and 100 / 500x magnification
Vickers penetrator, principally for checking the hardness of washers.
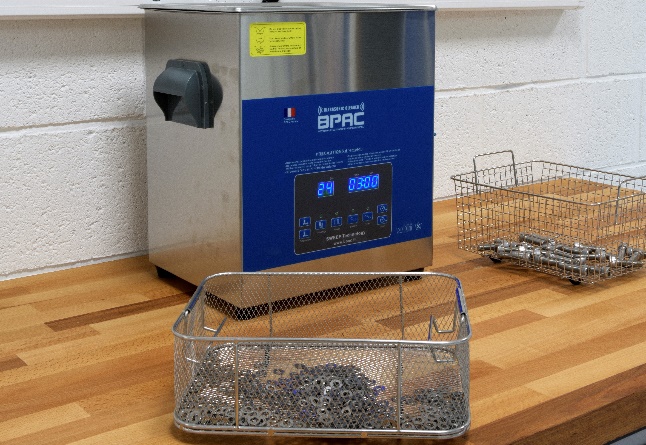
Ultrasonic tank
Removes oxidisation, grease, oils, grease, waxes, silicones, drilling, grinding and polishing residues, lapping pastes, solder paste, flux, ash, soot, pigments, inks, carbon deposits, resins, combustion and carbonisation residues, mineral and organic residues.
Essential cleaning before surface treatment for sensitive parts (space industry)
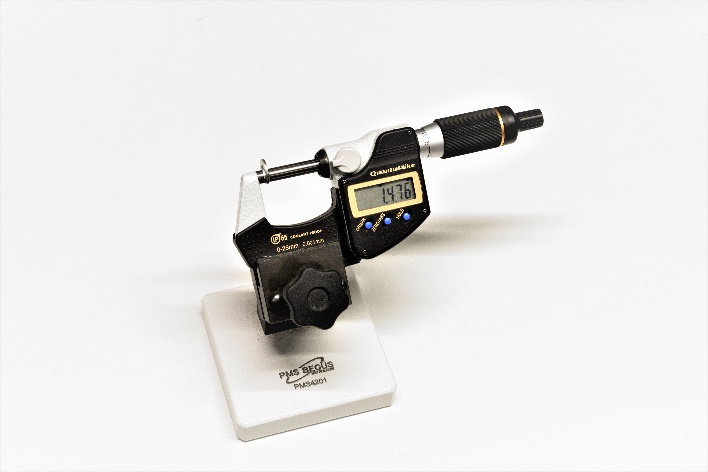
Exterior micrometer
The micrometer, or formerly “palmer”, is an instrument for measuring length. In its present form, it is widely used in mechanics to measure thicknesses, cylinder diameters (outside micrometers) or bore diameters (inside micrometers) …
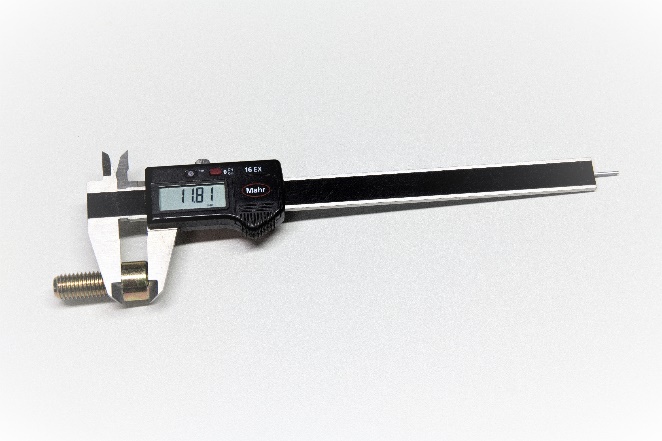
Caliper
A caliper is a length measuring instrument essentially made up of two parts which slide in relation to each other. This instrument, widely used in mechanics, makes it possible to easily measure the external dimensions of a part, the diameter of a cylinder or a bore, a depth.
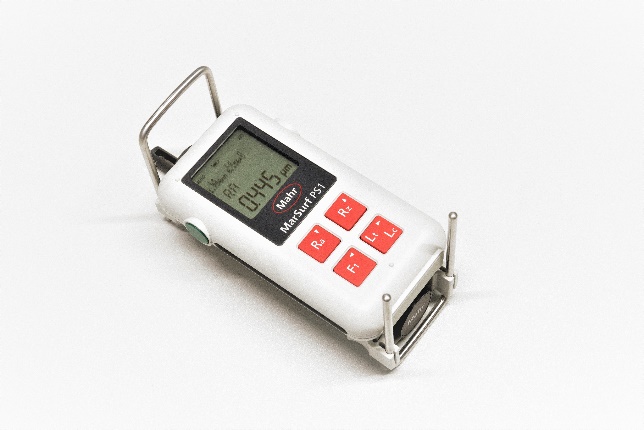
Roughness meter
A roughness meter is an instrument for measuring surface condition. The surface roughness is calculated by measuring the vertical deviation existing between the real surface and its ideal shape. This deviation is caused by machining or by chemical or physical treatment. If the deviations are large, the surface is rough. If the value is small, the surface is smooth
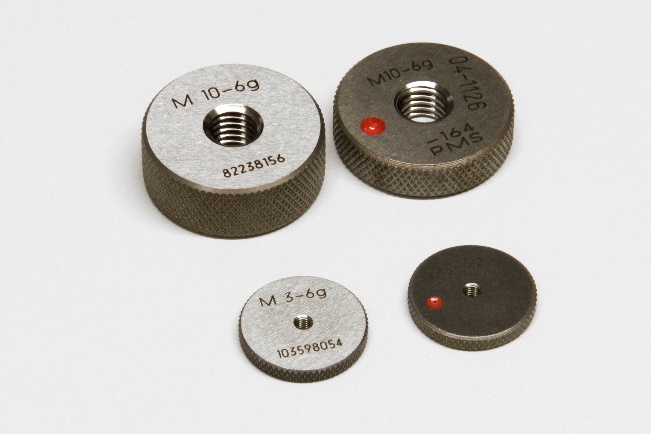
Go/ no-go rings
Threaded rings are used to check the external diameter of the “thread flank” thread.
Satinox have several sets of rings at their disposal : 4h, 6h, 4g, 6g, SI, UNC-UNF, MJ 4h, MJ 6h, UNJC, UNJF, UNFR …
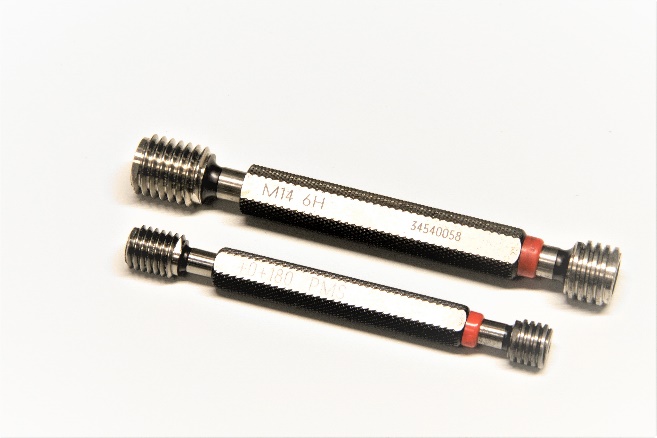
Go/ no-go gauges
The gauges are used to check the internal diameter of the “thread flank” thread.
Satinox have several sets of gauges at their disposal 6H, UNC-UNF, UNJF, ..
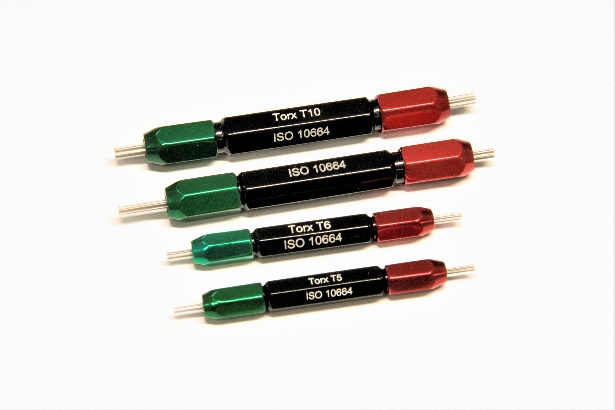
Go/ no-go Torx gauges
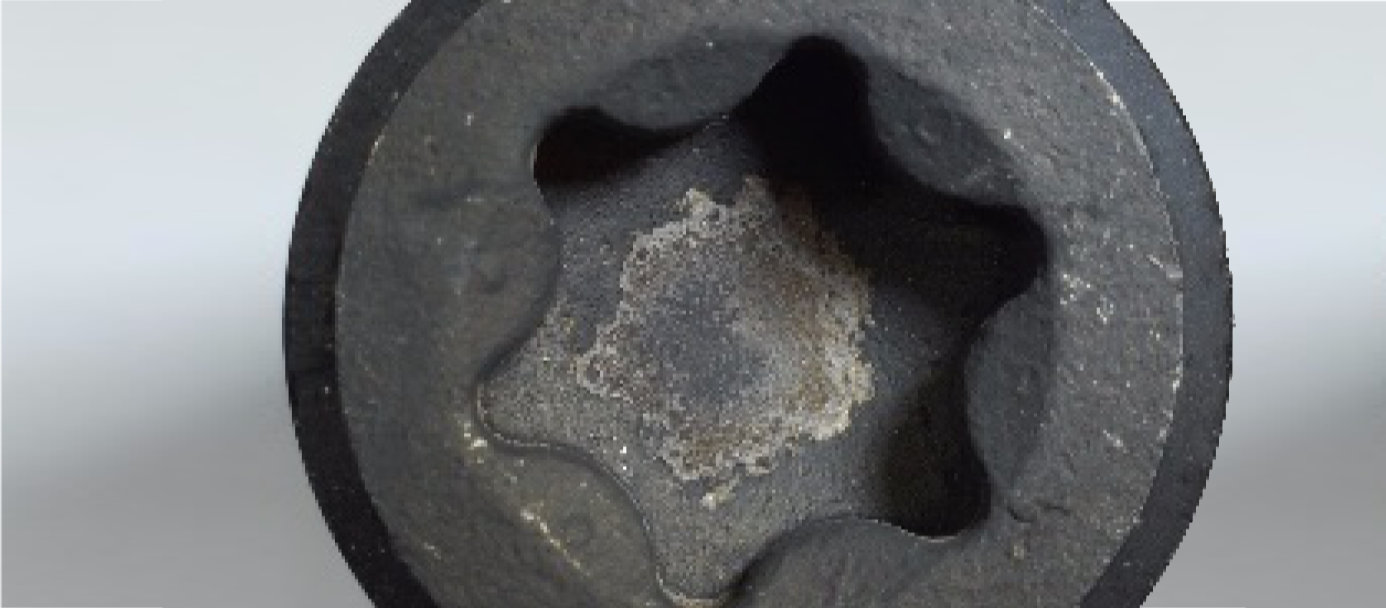
The Torx gauges are used to check the quality of the Torx impression in the screw head, also called 6 internal lobes.

